02 Hundred Hours Tactics for Defenders

As 02 Hundred Hours is a quite unusual sort of wargame, I thought it would be useful do a deep dive in to tactics in the game. As always, if you have additional ideas (or disagree with any of mine) then please jump onto the Facebook group and share your thoughts!
The first thing to say is that this is not a highly competitive, tournament-style game, so don’t get overly hung up about winning or losing. It’s more of a story-driven game, inspired by the most dramatic scenes of commando movies and stealth-based video games, aiming to recreate those tense moments and exciting twists.
That said, it’s nice to win, right?
A Fine Balance
An ’average’ game of 0200 sees the attackers sneak around for the early turns, taking out sentries, getting into position and building up an advantage, before something goes wrong, the alarm goes off and the defenders start their fight-back, bring on reserves and swing the game back in their favour.
This asymmetric approach means that staying covert as long as possible will likely help the attackers, while setting off the alarm early will often give an advantage to the defenders. However, depending on the mission, you may still be able to achieve your objectives with good tactics and a bit of luck!
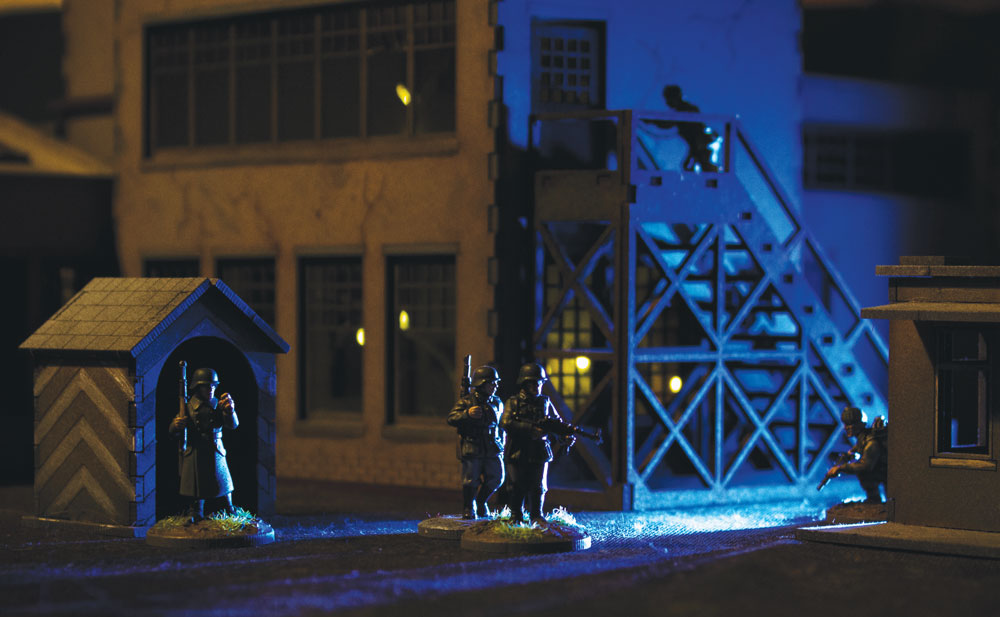
Terrain – more or less!
Having lots of interesting terrain on your battlefield really helps create the story, but it can have a significant effect on the outcome. As a general rule, having lots of dense terrain, so fighters can easily stay out of sight or at least in cover, will benefit the attackers. And conversely, lots of wide open spaces makes it easier for the defenders to spot their assailants.
So if you find that one side seems to win every game, or you want to give a new player an easier time of things, think about adjusting the terrain accordingly.
Defender
The role of defender
Some players may find it hard to root for the ‘bad guys’ in a WW2 game. The defending player may also find the first few turns a little demoralising, as their men are picked off and the attacker has all the fun. For these reasons I recommend letting novice players be the attacker, to avoid any negative first impressions!
I find it helpful to think of the defender’s role at the start of the game as similar to a GM in a roleplaying game – controlling the monsters, creating the story, providing the challenge for the other players. Then later, once the alarm is raised, you can be more competitive and get stuck into a firefight to see who comes out on top.
Force selection and reserves
You will certainly benefit from a good mixture of troops and weaponry.
My first recommendation is to take all the possible characters you are allowed for the points limit you have chosen. Their extra actions and better stats means they are well worth their points cost, and the one character who deploys from the start is often key to spotting the attackers and raising the alarm. If you draw a Veteran ability that will help in that role, make sure to give it to that starting character.
Feldgendarmes are better than normal sentries at recon so you’ll want some of them start on the table, walking the patrol route, using their increased Smarts stat to seek out the enemy.
Standard sentries meanwhile are better at shooting, so come into their own once the alarm is raised. Consequently it makes more sense to put them in reserve. However, they may take their time to arrive and get into the fight, so having a few deployed from the start is not a bad idea.
Guard Dogs are great at sniffing out covert attackers and hard to sneak up on, so definitely deploy them from the start. They are also a tough proposition in a fight with the extra option of the long-range dog attack!

Weapons
As for weapons, you will mainly be choosing between standard issue rifles and SMGs. A rifle’s long range means it can be good for reserves who might struggle to close enough to the action otherwise, and the higher Strength is deadly if you can hit – find a good firing position and use the Accurate medal effect to help with that.
Meanwhile the 3 dice of an SMG makes it a lot easier to get a hit, and if the target is out of cover, that means they will at least use up an action ducking out of the way. Plus of course the Spread effect helps you mow down any clumps of enemies.
Note that giving one of each gun to a pair of sentries is a good flexible option, as you can choose which fighter to lead when the pair acts, with the Assist effect for good measure.
Finally, pistols are a handy choice, especially for characters – if they get one hit, the Double Tap effect gives them the chance of another. They also give a bit of extra protection against murderous commandos coming at you with a combat knife.
Patrol Route
Forming your patrol route is a tricky balance. Placing a tight ring as close as possible to the objective may be tempting and will certainly make it hard for the attackers to get past undetected. However, this can make it much easier for the attacker to bring on his troops and close in with little opposition.
Conversely, spreading the route very wide gives you a chance of spotting attackers as the enter the table, but will leave gaps where the enemy can slip through.
The best answer is somewhere in between. Try to predict where attacking soldiers might move and hide as they approach the objective and place your Patrol markers to keep these areas in view whenever possible.
In-game Tactics
Minimal control of how your fighters move, sentries being taken out and only having half your force can all add up to a frustrating start for the defender. But don’t despair – you will get your chance later in the game once the alarm is raised.
The first few turns for the defender is all about taking small steps to optimise your chances of raising the alarm level.
Choosing which fighter to act with is key, so try to pick those who have the possibility of a making a Recon roll or even getting up close.
If the dice are unkind and you don’t get a Recon roll (or fail it), then facing towards an attacker still makes it harder for them to Sneak. This means that turning in their direction is useful even without rolling a Medal.
Even if the attackers are completely out of view, consider which routes they might use to approach and turn to look that way if possible.
The other thing to consider is attackers trying to get in position to take out a sentry or slip through a gap which your sentries are not covering. Naturally you should avoid these outcomes wherever possible by your choice of who to activate, holding a sentry back or hurrying them forward as needed.
Once the alarm is raised, prioritise firing with your best shooters and when the bonus dice stack the odds in your favour, but don’t neglect bringing on your reserves. It can often take a few turns to get them into the fight and if they miss most of the battle, you’re wasting their value. With inferior troops, it’s vital to make your numbers count!
Event Cards
Event cards add spice to the story and generally provide some advantage to the defender. As the player with less control on the battlefield, it is very rewarding when a surprise Event card turns the tables.
Some Events may seem inconsequential but used at the right time and with a bit of luck, they can make a real difference. Look for opportunities to foil your opponent’s plans, moving your sentries in unexpected ways or interfering with an attacker’s action at a crucial moment.
However, quite a few Events can only be used before the alarm goes off, so use them while you can rather than waiting for a perfect time that might never come!
Don’t forget there are plenty more Event cards in the different Expansion sets – It’s a Trap from Guards of Facility 9, Hesitation from Partisan Resistance Cell and Flare from Desert Raiders are some of my favourites.